
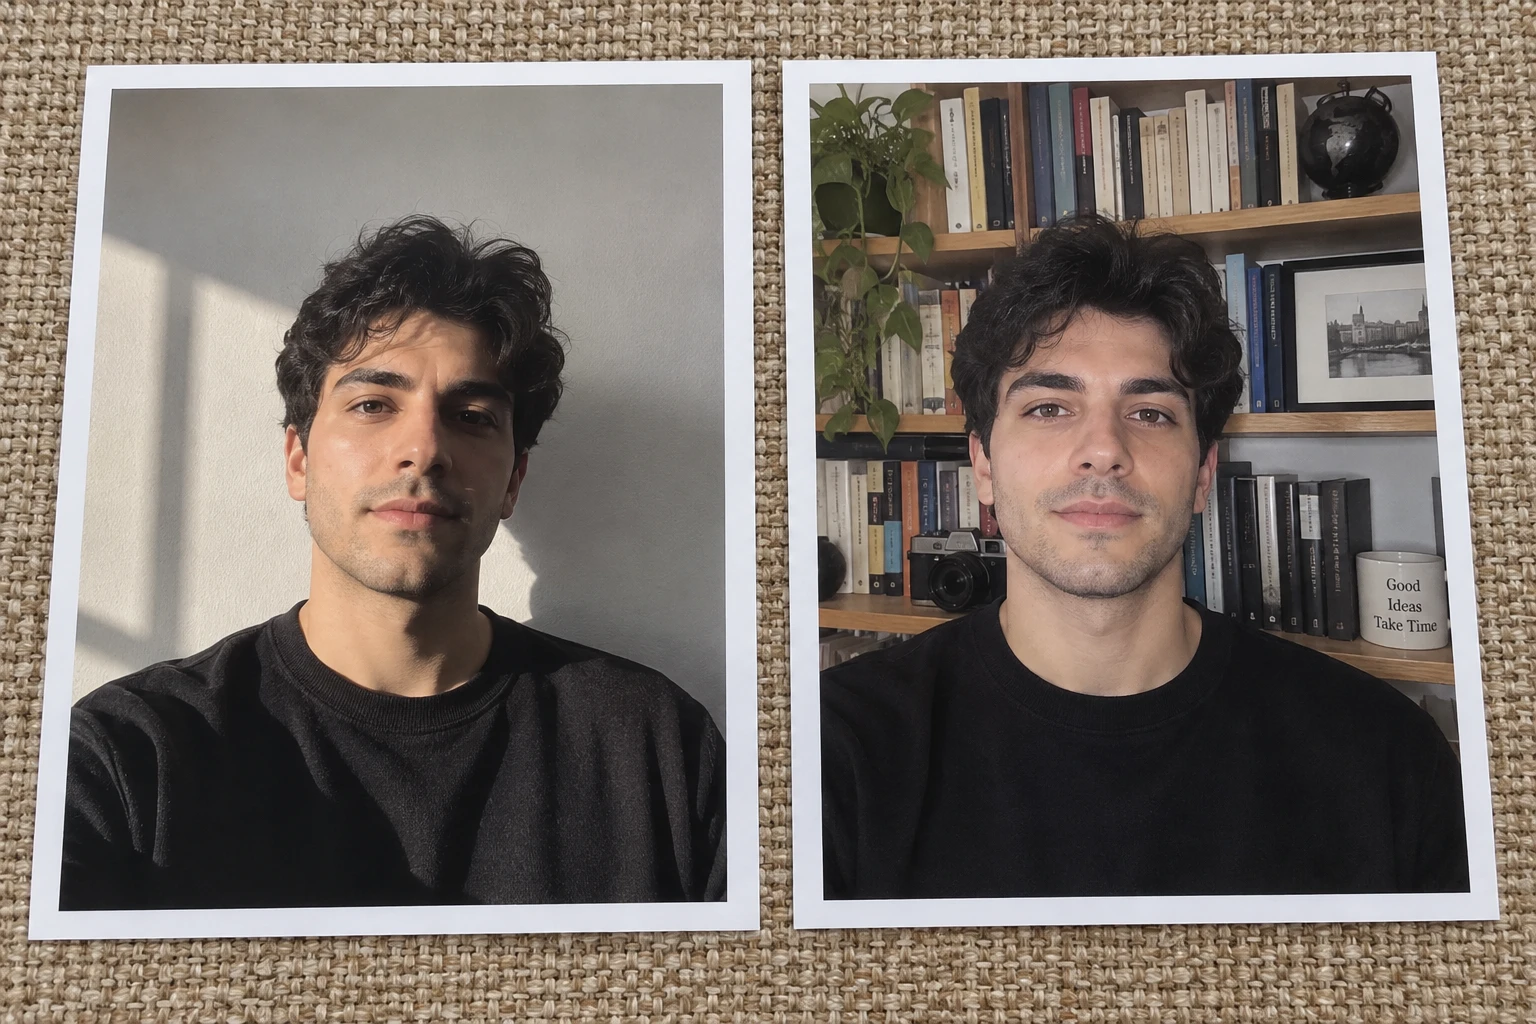
Think in tones, not colors
A colorful photograph is not necessarily a good string art source. A red shirt and a green hedge may look separate in color but become very similar in grayscale. A one-thread pattern has to express the scene through light and dark density, so the useful question is whether the main shapes remain distinct without color.
For a portrait, look for a readable outline, eyes that are visible, and a clear difference between the lit and shaded sides of the face. For an animal, the outline of the ears and muzzle may matter more than individual hairs. For an object, an uncomplicated silhouette and a visible shadow can be enough. Choose the feature that makes the subject recognizable and give it space in the frame.
Look for clear lighting
Soft light from one side often gives a useful balance: enough shading to describe the form, with highlights that can remain open. Completely flat lighting may make the face hard to model. Very harsh overhead light can turn eye sockets into dark patches that dominate the result.
Check the darkest areas before generating. If the original photograph has a nearly black block of hair with no visible variation, the generator cannot recover hidden detail. It can only place more thread into that dark region. Similarly, a featureless white highlight contains no subtle detail to reproduce.
A larger file can help when cropping, but resolution alone does not fix poor lighting or a tiny subject. A clear photograph of one face occupying most of the image usually has more useful information for this task than a high-resolution group photograph with small faces.
Compose inside your board
Choose a board shape to frame your image. Keep important features comfortably inside the selected board boundary. Leave a little breathing room around the top of the head, and avoid placing an eye or ear directly against the edge. An oval suits a tall face; a rectangle leaves more room for a landscape. A custom outline changes where nails can sit, so it also changes the available thread paths.
Decide what the artwork is about. A close portrait can work well when the face occupies the center, while a full-body photograph may make the face too small to survive the conversion. Crop out empty floor, distant scenery, or clothing that competes with your main subject. Keep the original photo unchanged and save a separate edited copy if you prepare it in another app.
Try the small-image check. View your source at thumbnail size. If you can still identify the subject and the main expression, its large shapes are probably doing useful work. If you need to zoom in to understand it, simplify the composition.
Simplify a competing background
Thread placed to reproduce a busy background passes through other parts of the circle. A dark tree, patterned wallpaper, or a large shadow behind the head can therefore affect the clarity of the portrait itself. A pale, quiet background gives the algorithm more room to describe the subject.
If you edit the source, aim for a natural separation between subject and background. An abrupt cutout edge can create an equally abrupt ring of lines. A gentle transition around hair or fabric is often easier to interpret. Avoid adding tiny decorative textures; they tend to become scattered density rather than recognizable detail.
Do not remove every shadow. Shading within the subject describes volume. The goal is to remove competing shapes, not to flatten the face into a white cutout with black eyes. After editing, compare the image at a small size again to make sure it still has a believable structure.
Compare candidates with the same settings
Generate two different photographs using the same nail count and line settings. Save each preview with a descriptive filename, then compare them at the same size. Choose the one that reads more clearly before spending time tuning its settings.
| What you see | What to try |
|---|---|
| The face blends into the background | Choose a lighter or less detailed background, or a photo with stronger separation. |
| Eyes become solid dark patches | Try softer lighting and reduce deep shadows in the source image. |
| The subject is recognizable only up close | Crop closer around the main feature and remove competing elements. |
| An ear or chin is cut off | Reposition the source within the circular crop before generating again. |
When the source is working, move to the first-project guide. If a promising photo still produces a very dense pattern, follow the dark-pattern troubleshooting steps before increasing the line count.
Put it into practice
Try your image, inspect the preview, and save the pattern that works for your project.
Open the generator