
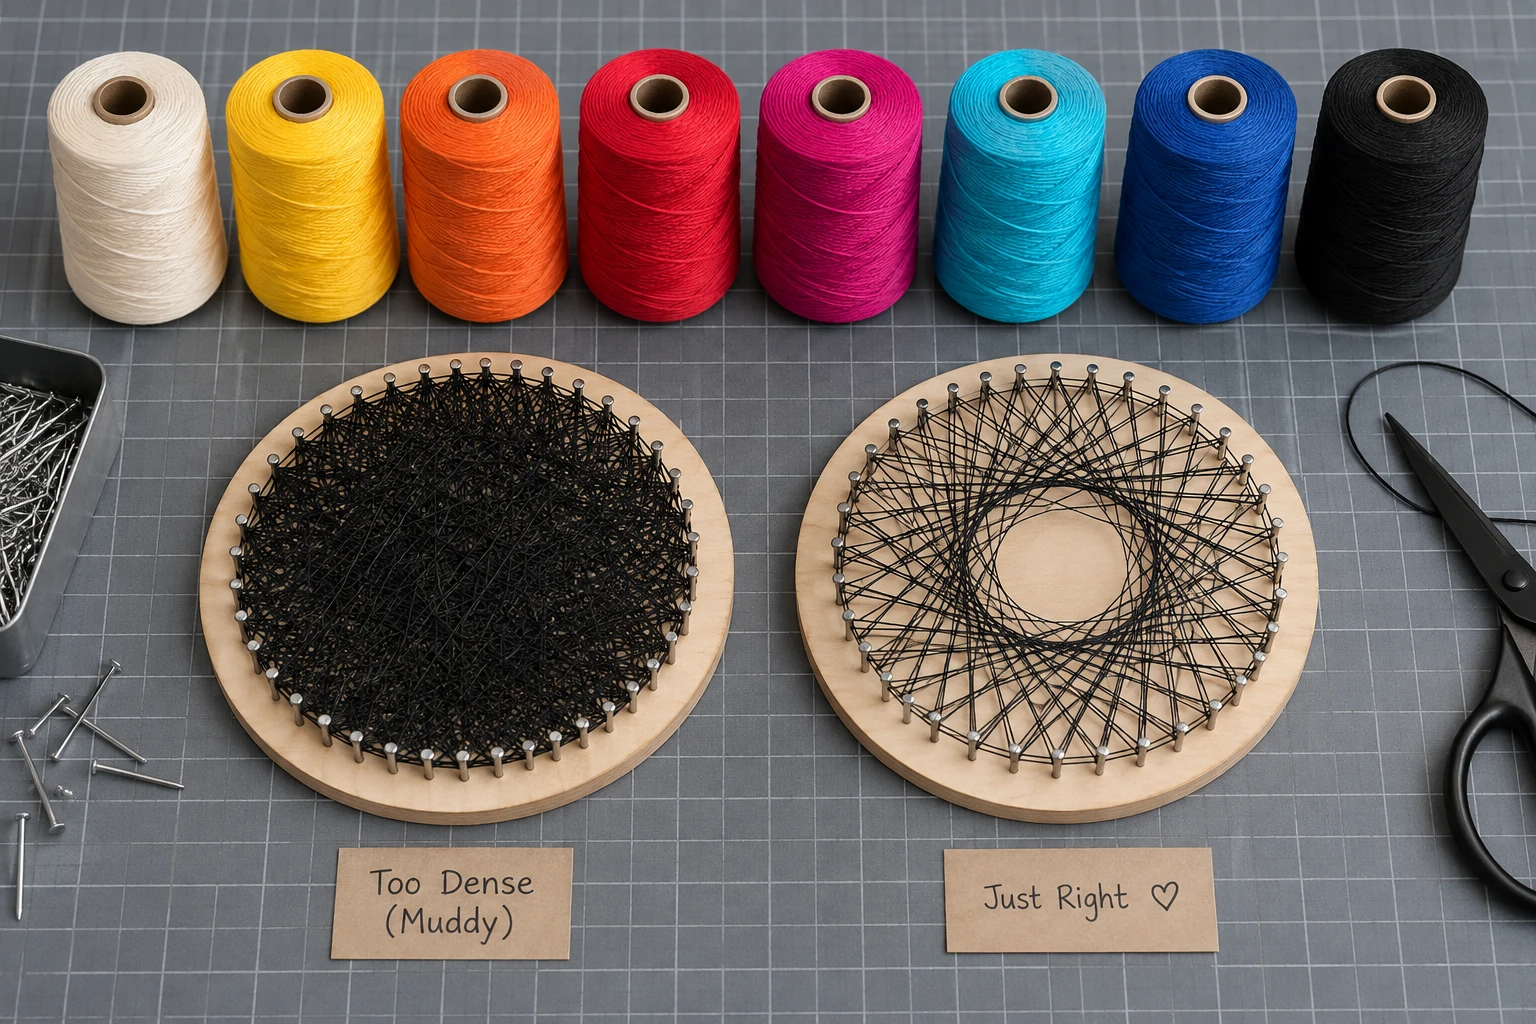
Darkness comes from overlap
Every thread segment crosses the whole distance between two nails. It cannot paint one small dark patch while avoiding every light area along the way. To darken an eye or a cheek shadow, the pattern may need lines that also cross the forehead or background. As more segments accumulate, those shared crossings can make the entire portrait look muddy.
This is part of the geometry of string art, but it does not mean every dark result is unavoidable. The source image, crop, line count, and thread density all influence how quickly useful shadows become a blanket of lines. Diagnose them in that order instead of moving every control at once.
Check the source before adding more detail
Look at the photo independently of the generated preview. Is much of the image already dark? A black background, dark clothing, and deep facial shadows all compete for thread. If those areas occupy most of the circle, a dense result is a reasonable translation of the source.
Try a source with a lighter, quieter background. If you edit the photo, brighten only the areas that are unnecessarily competing with the subject, and preserve the shadows that describe its form. Raising brightness everywhere can wash out the face while leaving the pattern with too little structure to follow.
Check the crop as well. A face that occupies a small part of the circle leaves much of the line budget describing the surrounding scene. A closer crop may make the same settings more useful. Keep the outline of the head and other identifying features inside the round frame.
Change one thing at a time
- Save a baseline preview. Note the image, nail count, line count, and other settings. A screenshot is enough for a visual comparison, but download the final pattern if you plan to build it.
- Reduce the line count. Generate a noticeably shorter path and compare the highlights. If the expression becomes clearer, the previous pattern was overfilled.
- Check the thread darkness setting. This setting influences the model of how much darkness each segment contributes. Change it in small steps and inspect the regenerated pattern. It is not a direct measurement of your real spool.
- Revisit the photo. If reducing lines only makes a muddy pattern faint, the source may lack the separation needed for a clear result.
- Consider nail count last. More nails provide additional line directions, but they also reduce physical spacing. Check your board dimensions before adopting a larger count.
Compare previews at the same scale and against the same background. A tiny preview often looks darker because individual gaps are harder to see. Judge the large forms first: the head outline, light side of the face, dark side, and eyes. Then look for smaller details.
Keep the downloads from each attempt separate. A changed setting produces a new thread path. Do not begin winding one version and then switch to the instructions from another, even if the previews look similar.
Recognize what the technique can preserve
Fine text, tiny jewelry, individual eyelashes, and complex patterned fabrics may not survive a one-thread conversion. Trying to recover them with thousands of extra crossings can reduce the clarity of the larger image. A simpler, readable portrait is often the better result.
If one isolated area remains difficult, ask whether it is essential to recognition. A subtle nose shadow can be enough even when it does not match every pixel. On the other hand, losing the outline of a pet’s distinctive ears can make the whole subject ambiguous; that is a reason to change the crop or source.
The generator offers a pattern to inspect, not a guarantee that every photograph will work. Test two substantially different source images when tuning has stopped improving the result. The photo selection guide provides a useful checklist.
If the physical piece is darker than the preview
Real thread may be thicker or more opaque than the model assumes. Multiple wraps can rise above the board, adding shadows, and a warm or gray board may provide less contrast than the digital background. View the piece under even light before deciding whether it is overfilled.
Check that you have followed one segment per step without adding repeated passes. Repeated visits to a nail are expected; repeating an entire segment accidentally adds density that is absent from the preview. If you know exactly where an error occurred, unwind to that point while preserving your place in the instructions.
For the next piece, use your sample to choose a finer thread or a shorter path. Record what you changed so that your own finished projects become a practical reference. The materials guide explains how board finish, nail spacing, and thread handling interact.
Put it into practice
Try your image, inspect the preview, and save the pattern that works for your project.
Open the generator